Showing posts with label how to. Show all posts

Thursday, August 6, 2015

Balmbini Volume 2 Face Palette Review (Sponsored gift from Reine DollShop)

good day everyone..!!! i'm trying really hard to be consistent in posting a new post more often.. hehe.. so today's post is about "Balmbini Volume 2 Face Palette" from the Balm cosmetics and this is one of the gift that i got from Reine Dollshop, i will give the swatch of the colors and apply it on my face.. but i have to apologize first because i forgot to bring my brush set..!! so i only use the natural brush that every human has which is the fingers..~ and a lil help from cotton buds.. and let's start the review shall we??

Packaging


first as usual we will see the packaging first, this is actually my first palette from the Balm cosmetics so i am really excited to try it..!!

the front

the back

omg.. i really love the packaging design..!! so colorful and cute.. the explanation on the back is clear too and you can read it easily.. there's even an instruction to create a look using this palette, this kinda reminds me of my Em cosmetic Life Palette which give a few instructions too to create a different looks using their palette..

Product Description


and now let's see the inside, i wonder what colors this palette provide and is it pigmented or not? hehe.. but first let me explain that this palette contains 4 shadow/liner (it means you can use it as eyeshadow or eyeliner), 1 highlighter/shadow, 1 lip/cheek cream, 1 lip gloss.. i also provide the color swatches on my wrist on photo below..


color swatches

whoaa.. love the colors..!! and it's very pigmented.. you really can create a full look by using this palette only.. so i will give a description for the colors, i already mark each of the colors with alphabet letters on the picture above..

- a : this is a lipgloss called "Nude"
- b : this is a lip/cheek cream called "Strawberry"
- c : this is a shadow/liner called"Lavis Latoya"
- d : this is a shadow/liner called "Open to Offers Olwen"
- e : this is a shadow/liner called "Manic Maribel"
- f : this is a shadow/liner called "Jinxy Jasmyne"
- g : this is a highlighter/shadow called "Promiscuous Pearl"

almost all the eyeshadows except the black one have glitters on it and they really have beautiful colors.. i love the highlighter especially when you put it on your brow bone, it isn't too sparkly and shiny but not matte also, it's just there and brings out the brow bone out.
i will try to do the look that they put on the back of the box, but as i said before, i forgot to bring my brushes so i did everything with my fingers and cotton buds, some of the photos quality also wasn't that great because i haven't found my camera charger, but i hope it's clear enough.. thank you for the understanding..!!

Directions


How to get the look "Balmbini Volume 2" :


- prep your face first with your basic skincare then primer, continue with bb cream or foundation, concealer and done.. don't put any powder first because later i will apply the cream blusher.
- then continue for the eye makeup, apply the eyeshadow primer, after that on the inner corner use the purple eyeshadow the one that called"Lavis Latoya", and use the green color called "Open to Offers Olwen" on the center and outer corner of the eyelid.


apply the purple and green eyeshadow

"Lavish Latoya"
"Open to Offers Olwen"
- then i use the gold color eyeshadow called "Manic Maribel" above the purple and green color, put it little by little to build up the intensity, i prefer it not too bold but still visible and don't forget to blend them well

apply the gold eyeshadow

"Manic Maribel"
- next, i apply the black eyeshadow called "Jinxy Jasmyne" on the outer corner only, just to deepen and darken the eye a lil bit, and blend the color, as you can see the black color isn't too bold and it doesn't affect the other colors.. actually if you dip ur brush with water and use this color, it can be a substitute to your eyeliner, well it works for the other colors as well.. but i prefer using my own liquid eyeliner since you know i have this oily eyelid and afraid the eyeshadow will smudge all over.. hehe..

black eyeshadow on the outer corner only

"Jinxy Jasmyne"
- after that i use the pearl highlighter called "Promiscuous Pearl" on my brow bone, gosh i really love this color..!!


pearl highlighter on the brow bone


"Promiscuous Pearl"
 - after that i apply my favorite eyeliner ,K-palette 24 hour eyeliner and for the lower lash line, i'm using 3 colors they are green, purple, and pearl color.. i started from the outer with green one and because i don't have any brush, i'm using the help of cotton buds on this part, next on the inner corner i'm using the pearl color all the way to the middle and last but not least the purple color in the middle, blend them well.


- tadaaa..!! the eyeshadow part is done..!! next curl the lashes, and apply the mascara on upper and lower lash. don't forget to fill in your eyebrow..!! products that i used :
mascara : maybelline lash stiletto
eyebrow : VOV auto eyebrow pencil


- for the cheek, i'm gonna use the cheek cream the one that called "strawberry", never use powder before applying cream blusher or you will end up with cakey makeup..! i pat down the cheek cream on the apple of my cheek and blend it carefully, i love the color..!! so natural..~
don't forget to powder after applying the cheek cream.. or if you into that dewy look you can leave the powder..!


"Strawberry"
- and for the lips, i use the strawberry lip/cheek cream color again and layer it with "nude" color lipgloss..


"nude"
 - and it's done..!! do you like the result? give comment and let me now..!! i'm open for any tips and suggestions..~

before after

Price : i don't know the exact price for this because i got it as a gift, but i guess it's around Rp 400.000,- ??? i'm just guessing, you can ask Reine Dollshop for the exact price, the owner is very kind and patient, ready to answer all of my questions, oh and fast response too..!! i will give the contact information down below..~


Pros and Cons


Pros :

- all the products, eyeshadows, lipgloss, lip/cheek cream are very pigmented
- multi functional palette, 1 palette can do a lot of things
- perfect size if you want to bring it for travelling
- gorgeous colors..!!

Cons :

- this product may be pretty pricey for some ppl, but i would say that it's not pricey because u can make a complete look just from this palette, imagine that you can save ur money for other things..!!
- well, just like jordana, it's hard to find this brand in Indonesia, you can only purchase it online

Conclusion


i rate this product : 10/10

whoaaa... yeah it's a high review but i feel super satisfied with this palette and of course i already thinking about purchasing another palette from the balm..!! i am really interested in their products..!!

so that's it guys..!! it's a wrap..!! i hope you enjoy this post, thx for reading and give me any feedback because i'm still learning, really appreciate it!! see ya..~~

ReineDoll Shop contact information :

BBM : 7A674985
LINE : reinedollshop


Thursday, April 3, 2014

~korean ombre/gradient lips tutorial..~

hello girls..!!~~ this is my first post in April, yay..!! today i want to share about how to make a korean ombre/gradient lips.. this is a request from Miss Inggrid, and i try to make this tutorial as good as i can.. hope u like it Inggrid..!! =)

in this tutorial, i don't use any lips concealer and lips tint because i don't have one.. i'm not that type of girl who really into lipstick or lips color whatsoever, i don't like to wear it to be honest.. haha.. so forgive me, i'm using anything that i have to create this look, which are foundation, lipstick, and lipgloss.. so enjoy this tutorial..~


ok first, i'm applying my lip balm because my lips are dry easily and for some reason not friendly with either lipstick or lipgloss therefore the lip balm become a protective layer for my lips.. i'm using nivea essential care..


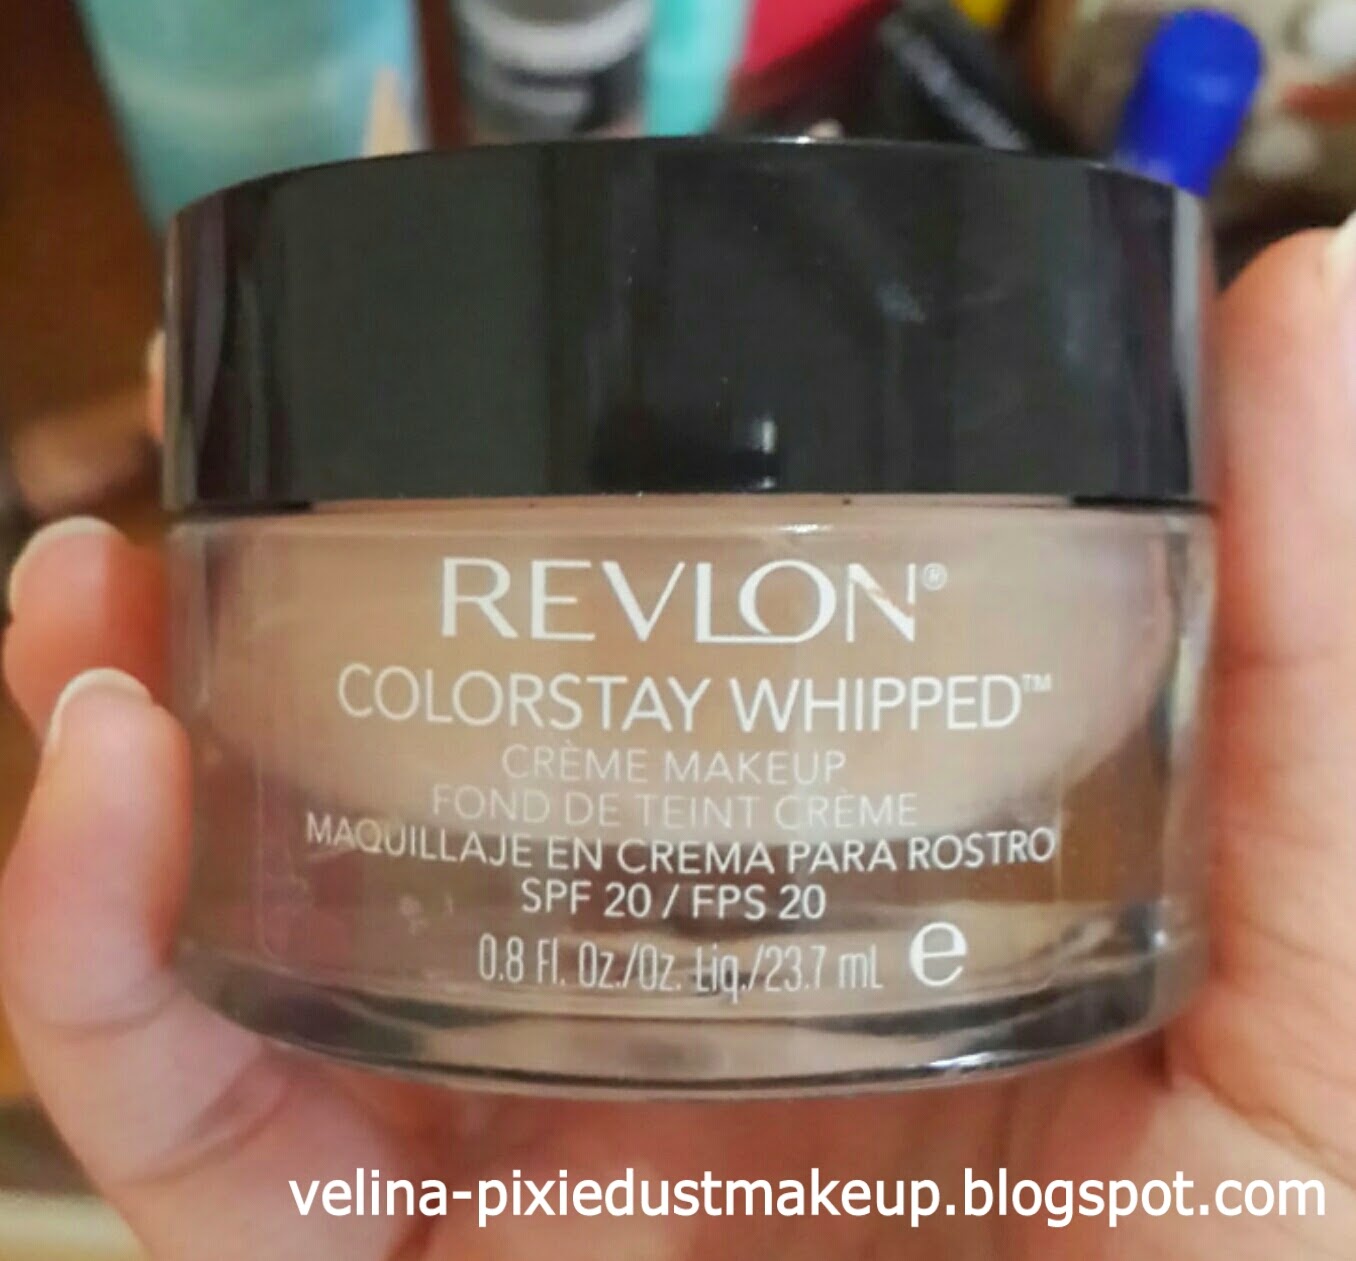
and then in exchange for lips concealer, i'm using foundation instead.. i know i will never use a lips concealer that's why i never buy one, for me foundation is a great tool to covering everything..!! i'm using revlon colorstay whipped cream foundation.. apply it on whole lips, upper and lower..


after applying the foundation


next step is color the middle part of the lips, i know that i supposed to use a lip tint and as u know i don't have one that because lip tint has a drying effect on lips, so not buying it either.. i'm using lipstick instead, mixing 3 colors.. first one is from NYX luscious lip gloss pallet #06 Pinky promise, i use number 3 and 5 altogether.. then i put another layer of color from revlon colorstay ultimate suede #095 Finale.. you might feel that the revlon one is too red, but when u wear/apply it the color isn't bold, it's soft and if you see my pic, the color is almost look like pink color, perfect for this look..

mixing number 3 and 5
adding this color

applying NYX number 3 & 5

applying revlon

color it only in the middle area
then, blend the color to the outer side.. if bottom area, blend it downward and if upper area, blend it upward.. and remember you have to clean the lip brush first using tissue..!!


bottom part, blend downward


upper part, blend upward
and the last step is applying lipgloss..!! it will create a more natural look.. make sure u wear a clear lipgloss, a little glitter is alright.. i'm using candydoll lipgloss, one of my favourite.. you can't even notice the glitter on my lips right?? hehe..


and this is the result..!! Voilaa..~~


thank you for reading my blog.. it's a short one, but i hope i explain all of it clearly.. leave a comment below if you have any questions, i will give my best answer for you guys..!! see you in my next post and good luck..!! love yaaa...<3

Wednesday, March 26, 2014

how to draw eyebrows by me..♥

hello girls..!!! today i want to give u guys a tutorial about drawing the eyebrows.. i got a few requests to do this tutorial, so here it is..!! first, i want to explain about eyebrows because i see so many girls can do makeup so good with their eyes and face, but never good on eyebrows.. usually they just draw it randomly or just leave it like that.. it's weird to have a face full of makeup but didn't do anything to the eyebrows a.k.a bare eyebrows..!!!

well eyebrows can change your whole look, even your whole makeup.. as you know the booming type of eyebrows right now is straight eyebrows, this type of eyebrows are fuller, straight (no arch), and thick.. this will make u look younger especially if u combine it with a simple makeup..
and there's an arch eyebrows, this type of eyebrows is usually thinner, this will make u look more elegant and mature.. also becareful with the length, because if the tail is too long then u will look sad..!!

so create the eyebrows that suits your face, it's ok to experiment because with that u will find ur perfect eyebrows.. well i hope with this tutorial, i can make u guys to understand more about eyebrows and how to draw it correctly.. let's start the tutorial..!!!

ok, first is my bare eyebrow, i have a super thin eyebrow and my eyebrow has been like this since i was born, not because i overdone (reshaping) them.. actually i was feeling grateful with it because i can draw my eyebrow quick and easy.. hehe.. but of course as you can see i need to reshape my eyebrow for a better look, i never pluck because i can't bear the pain, so instead i use a specified razor to shape into the right one.. (if you want to know which area i usually shave, leave a comment below so i know that u guys really need guide to do so..=))


and then i will draw from the bottom part first, from left to right.. but please draw in thin line and make sure your eyebrow pencil is sharp enough.. i'm using Viva eyebrow pencil in brown color, my favourite..!!

follow the dotted pink line


then continue to draw the upper part, also from left to right and as thin as possible.. for the upper part, u can adjust the height of your eyebrow, but u must remember if the eyebrow arch is too high u will look mean, except that's the look that u are looking for..~

follow the dotted pink line


so basically u have to frame your eyebrow first and then fill it in.. because filling in is easy, but to find the perfect frame, that's hard and tricky..!! and if u make a mistake just erase it with cotton buds, no worries because pencil is easy to erase.. oh also one tip for u guys, if u use pencil like mine, it's easier to draw on oily surface, by oily i mean after u put on bb cream or foundation, not after powder..!!

the frame

fill it in

after fill the eyebrow in, adjust the length of the tail, remember don't make it too long.. also fill and draw the front side but not too bold, the law of drawing eyebrows is fade/thin color in the front and bold and thick color on the back (tail)..

adjust the tail length

fill the front side

now i want to show u guys my eyebrow look, but it's not done yet..!! as you can see, the color is not spread well and not blending.. and i like to draw my eyebrow with a little bit of arch and a little bit straight on the lower line, i find it more suitable for my face..!!

not done yet..!!
this is when my favourite brush for eyebrow comes out.. it's an small angled brush with a super thick bristle, it's suitable for blend the color from eyebrow pencil.. but i buy it from my makeup teacher long ago so i don't know where to buy it in here.. but no worry, you can use other brush as long as it's a small angled brush it still can work..!! just brush it through the eyebrow from left to right, keep it in 1 direction to even out and blend the color, then put a few strokes on the front to soften the color..

the angled brush with hard bristle


and it's finish..!!! this is the full look, u can put an eyebrows mascara after it like what i always do on my makeup tutorial.. and remember girls, nobody has an identical eyebrow on their left or right eyes.. usually the difference is vary from the length, the height, or even the thickness, so it's ok if ur eyebrows look a little bit different between left and right, just try to even them out.. nobody born with that perfect eyebrows..!! it's normal girls..~


as you can see, even my eyebrows has a slightly different height, but i can even them out a little bit.. well, thank you for reading this post, and i hope this post is useful.. post a comment below if u have any question, good luck..!!!~